Pages

Showing posts with label Springtime. Show all posts

Palo Verde Easter I

Palo Verde always blooms for Easter. I love when the whole town is covered in drifts of yellow blossoms like snow.

Palo Verde Easter

Every year it looks like Palo Verde will forget Easter. But somehow, it never does.
One of my favorite times of year, I wish I could put it in a jar and keep it.


Alex drew the jar for me :)
And so I did :)
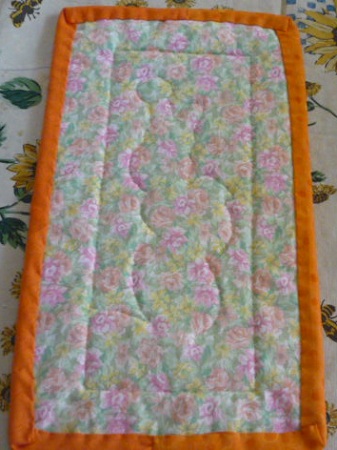
I've been thinking of a Palo Verde quilt for a long time. This is not it LOL:)
So I call it PV1, hoping I'll get to the original plan......next Easter?


Except.....

I love the threads I found to match and create every element here.
I love the pieces and fabrics.
Finally got the tension right on the quilting with my old Brother!
....but together they're not working as hoped.


 What's missing????
 

Scrappy Summertime Shoes

Now I know why I keep that big basket of strips; perfect stash for
 Rag Garland flip-flops upcycle, plus an ideal birthday present for our 9 year old neighbor, Kala.

The unique feature in our flip-flop creation are these butterfly button/charms by Jennifer Heymen (from the bead section in Micahels). Here's how easy it all was:
shoes + charms + strips (3/4" thru 1-1/2" wide) = FUN!


  1. Loop strips around flip-flop straps (just like a rag garland), then tie in a not for added wearability. Easiest to work from center outward.
  2. Trim ends of strips to 2" long or less (so you can't trip on them).
  3. Hand-tack charm at center.
  4. Ta-Done! Go outside and enjoy:)

The Mini Butterflies Swarms

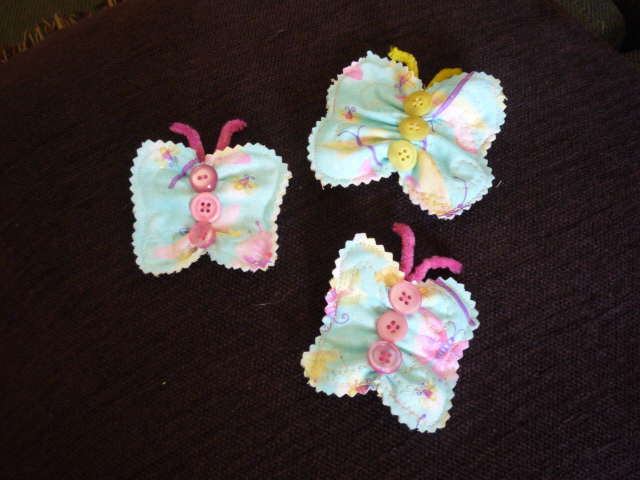
The Mini Butterflies!

These are the mini versions of the Butterfly Bunting. Instead of for decoreation for a spring time feel in the house, they're decoreations for your hair!

This butterfly is able to clip to any hair and go with every dress.

Bremen Peeps

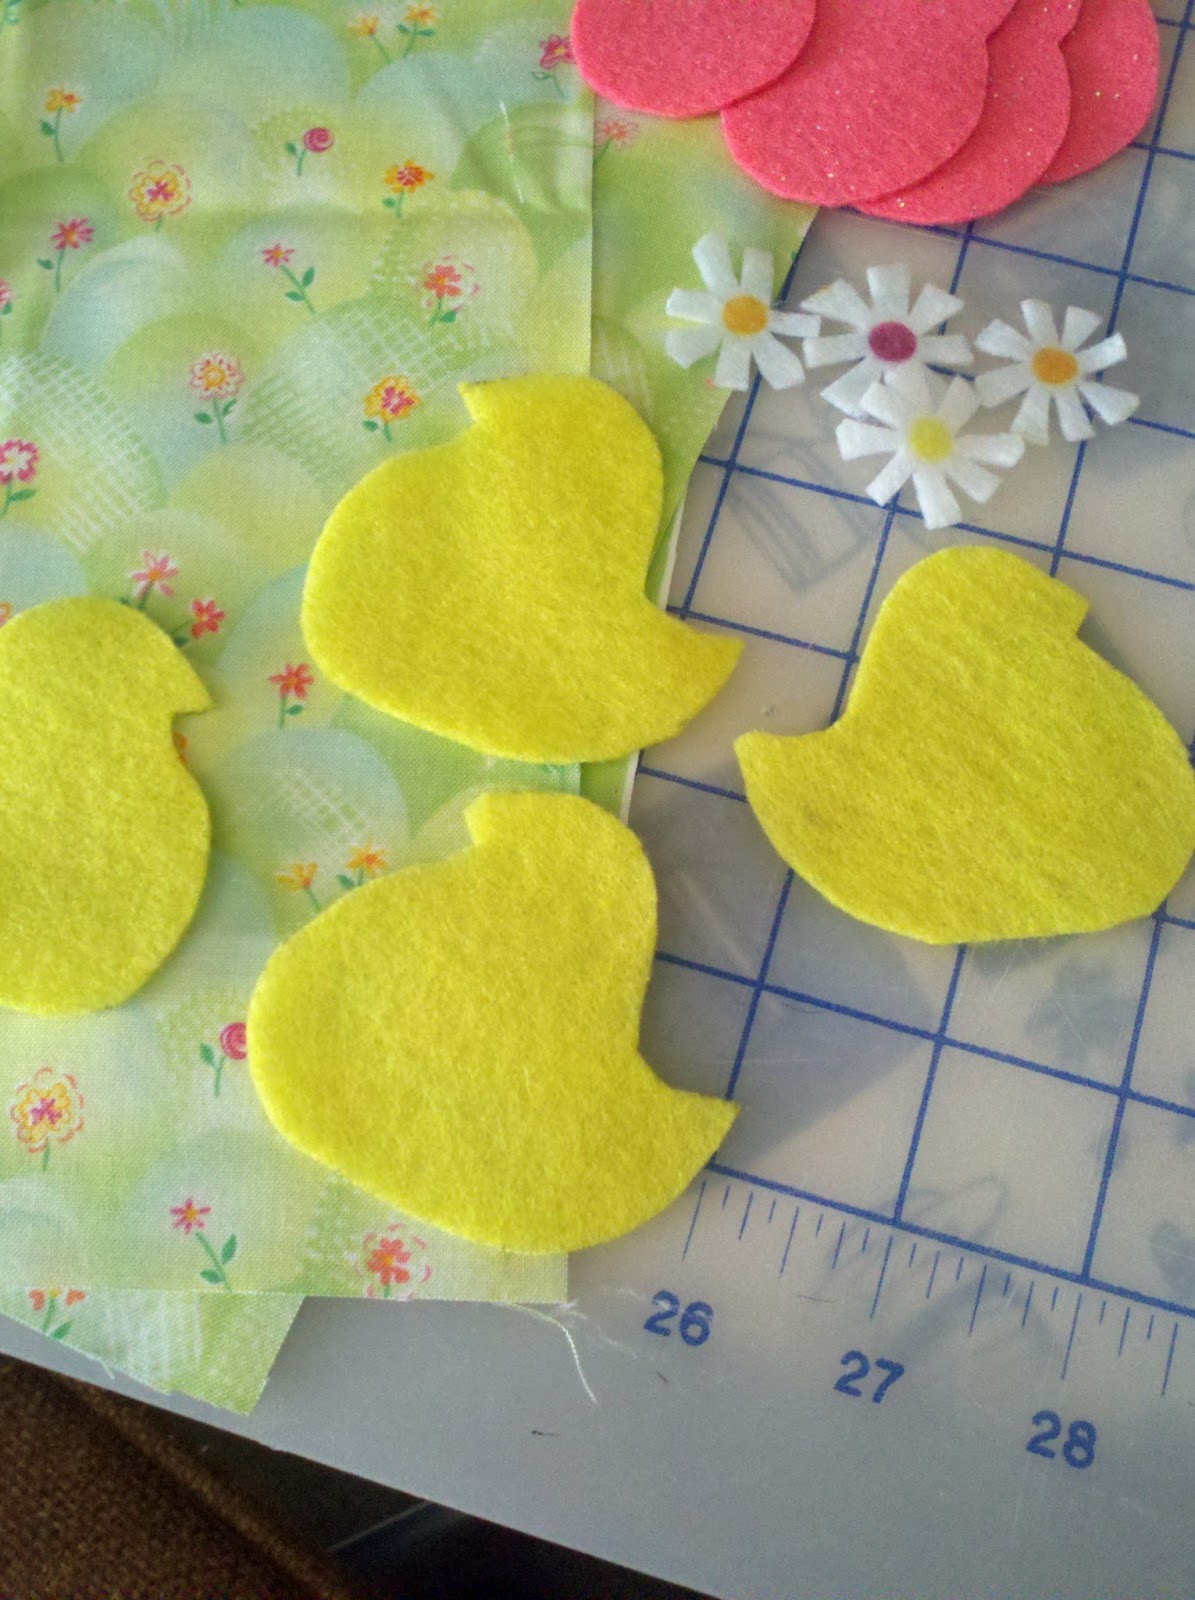
My favorite folktale has always been the story of the Bremen Town musicians. Not sure why. Nonetheless, I have long considered quilting something reminiscent of this fable. Felt Peeps at last provided the ideal venue. How do you like my Bremen Peeps mug rug?
Bremen Peeps
This grassy egg background fabric made all the difference. It was just a scrap from a trade, but there was some selvage that said "Jennifer Sampou - Zany for Zinnias." The buggy stripe border is ideal too. Mostly blanket stitching by hand, but I anchored the grass with a decorative stitch and there is minimal outline machine quilting. Daisy is cut from the same spotted felt that made the egg.

Once I had agonized over drawing the felt patterns, the rest of the project was quick and fun. Hope all your spring projects fall into place too.

Happy Springtime
 

Butterfly Bunting

Bunting and garlands are my favorite way to decorate. Here is a quick quilty springtime project, good for fat quarter or scraps. Finish with ribbon ties, vintage buttons and pipe cleaner.
http://roadhomequilting.etsy.com
Make a toast shaped pattern, 5"h x 6"w. [I like brown grocery bags for pattern paper.]

Make a quilt sandwich, where both sides are "top" worthy fabrics. Butterflies are reversible. Stitch on pattern outline. [I used spray basting and regular stitching foot.] Cut out with pinking shears.
Quilt toasts. [I made swirly shapes with darning foot and mismatched bobbin thread.]

Hand basted and gather center of toast shapes.
Now you have a butterfly :)
Use 1/2 stick of pipe cleaner folded in a V shape. Tack on back of butterfly.
Finish Butterfly front with 3 large [more than 1"] buttons.
TIP:  For perfect spacing, sew on the center button first.
Tack Butterflies together at top edges. Tack ribbon ties to end butterflies.
  • ALTERNATE ENDING:  Extra Butterflies? Attach a clothes pin to back of butterfly with hot glue gun.
Happy Springtime & Happy Quilting

Stitching Shamrocks Reverse Applique Mug Rug

It's Shamrock time! Here is an easy mug rug featuring twin shamrocks to help you celebrate. Big stitch quilting with embroidery floss frames details and adds texture. Reverse applique shamrocks look complicate, but they are sew easy! Let me show you:


Cut four 6"x10" pieces, 1 each: top, fusible batting, back, green lining (this is Shamrock piece).
Iron fusible batting to back of green piece.
Trace two shamrocks onto TOP piece. [for easy quilting stencil see Cookie Cutter Quilting Trick, step 10 in Candy Corn Pillows in 3-D tutorial]
This Mary Engelbreit fabric is sew sweet :)
Score the center of shamrocks with rotary cutter so you can insert scissors and trim away inside of shamrock shape. The marked line is the stitching line, not the cutting line. Leave a generous 1/4" allowance inside shamrock.
Is this hoop upside down? Works better this way for reverse applique.

Layer "quilt sandwich" as usual, with green side of batting next to cut-away top piece. Hoop project.
    Reverse applique shamrock shapes: using thread matching top piece, blind stitch top to green/batting piece, using needle to fold 1/4" margin under stitching line. Clip curves as necessary to aid turning.
Outline quilt around shamrock with big stitches using 4 strand green embroidery floss.
When both shamrocks have been quilted, square quilt sandwich and bind with green bias strip.
Lastly, outline quilt edge in floss 1/4" inside binding with big stitches.
Congratulations! You finished :)